Media can mean an image, video, audio recording or document. The Media library is where all ourlingo 1.0 media is uploaded to.
Search and sort
Use the search bar to search by media file name.
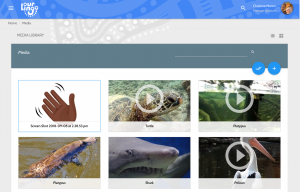
Above the search bar your will notice two tiles in the top right corner. This allows you to change the view from tiled to list format, which allows for greater flexibility in sorting your search results. Items in the media library are sorted by Date created as default, with the most recent items appearing first. Other options for sorting include Title, Status, File type and Gender. See below for an example of the media library in list view, with sorting options available.

Edit
Clicking on a media item will take you to a page where you may edit the meta data associated with this item. You can edit details including the title, author (name of the person who contributed the media), copyright info, speaker (for audio only), gender (for audio only) and notes.
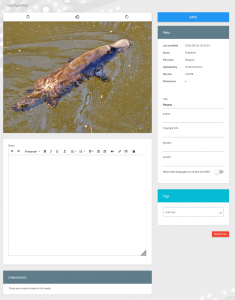
‘Linked items’ shows where the media is being used in the dictionary and phrases. If you need to delete this media item in future, you will need to first unlink it from any linked dictionary items.
Don’t forget to toggle ‘Allow other languages to use (but not edit)’ to ‘On’, if you think that your media could be useful to others. Images may be particularly useful to other languages.
Add
To add media, click on the + button, directly underneath the search bar. You will land on the below screen and will have two options for how to upload media from your computer.
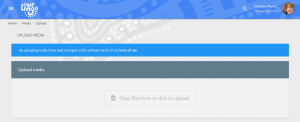
1. Drop files here
On your desktop home screen, open a window in My Computer or Finder and navigate to where your media is stored. Highlight one or multiple items, then drag these onto the screen and release your mouse to begin the upload.
2. Click to upload
Clicking here will open a window for you to select one or multiple items. Click open to begin the upload.
You will see a preview of your media file with a progress bar, indicating time to completion. Once the media is uploaded, the system needs some time to process it before you can use it in the dictionary. Occasionally this can take a few minutes or longer. You can check the progress of this by clicking into the individual item.
Approve
The media approval button is a double tick, directly to the left of the Add media button. This feature is available to administrators and authors only.
All fields are available for you to edit.
When approving content, take particular note of the meta data around the field ‘Uploaded for’. This tells you if the media was uploaded for a particular dictionary or phrase item. If you approve the media, it will automatically attach to this dictionary or phrase item, and you can edit this later in the dictionary.